
Sidst opdateret: March 6, 2026 | Antal ord: 3,500+ | Læsetid: 17 minutes
Editor’s Note: This comprehensive guide covers fiber optic underwater connector installation and termination based on field experience from 200+ subsea installations worldwide.
Sammenfatning
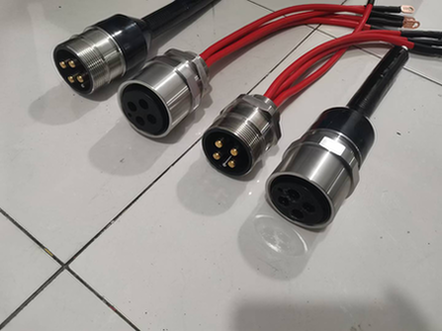
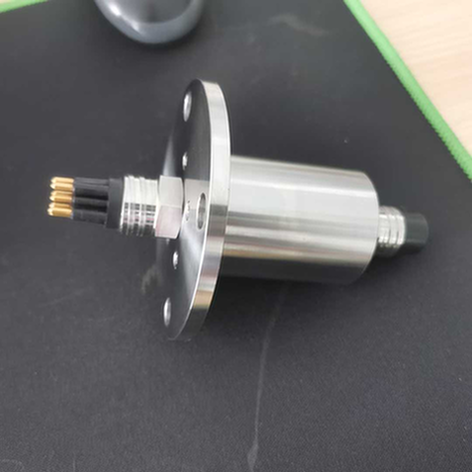
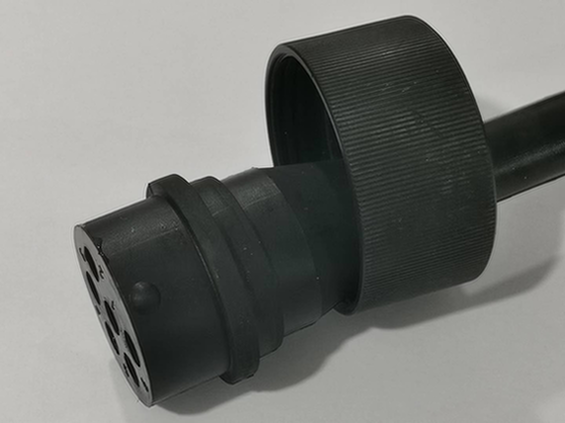
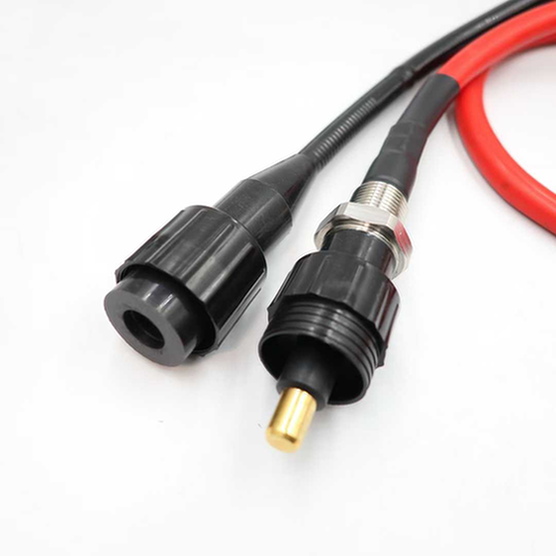
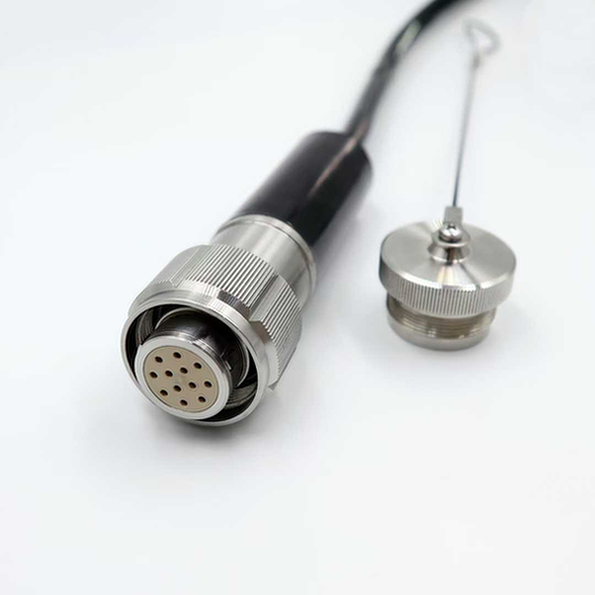
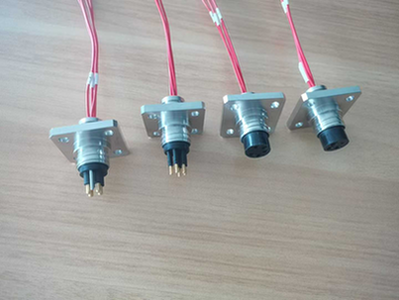
Fiber optic underwater connectors represent the pinnacle of subsea data transmission technology, enabling bandwidths exceeding 100 Gbps for demanding applications including 4K/8K video, hyperspectral imaging, and large-scale sensor networks. However, proper installation and termination are critical to achieving specified performance levels.
Key Points:
- Fiber optic connectors require 10x more precision than electrical connectors
- Contamination is the #1 cause of fiber optic failures (80% of cases)
- Proper termination can achieve <0.3 dB insertion loss consistently
- Field termination possible with proper training and equipment
- Testing protocols must be followed at every installation stage
Chapter 1: Fiber Optic Connector Fundamentals
1.1 Why Fiber Optics for Underwater Applications?
| Feature | Fiberoptisk | Kobber |
|---|---|---|
| Bandwidth | 10-100+ Gbps | 1-10 Gbps |
| Distance | Up to 100 km | <100 m (high speed) |
| EMI Immunity | Complete | Requires shielding |
| Size/Weight | Smaller, lighter | Larger, heavier |
| Korrosion | Immune (glass) | Vulnerable |
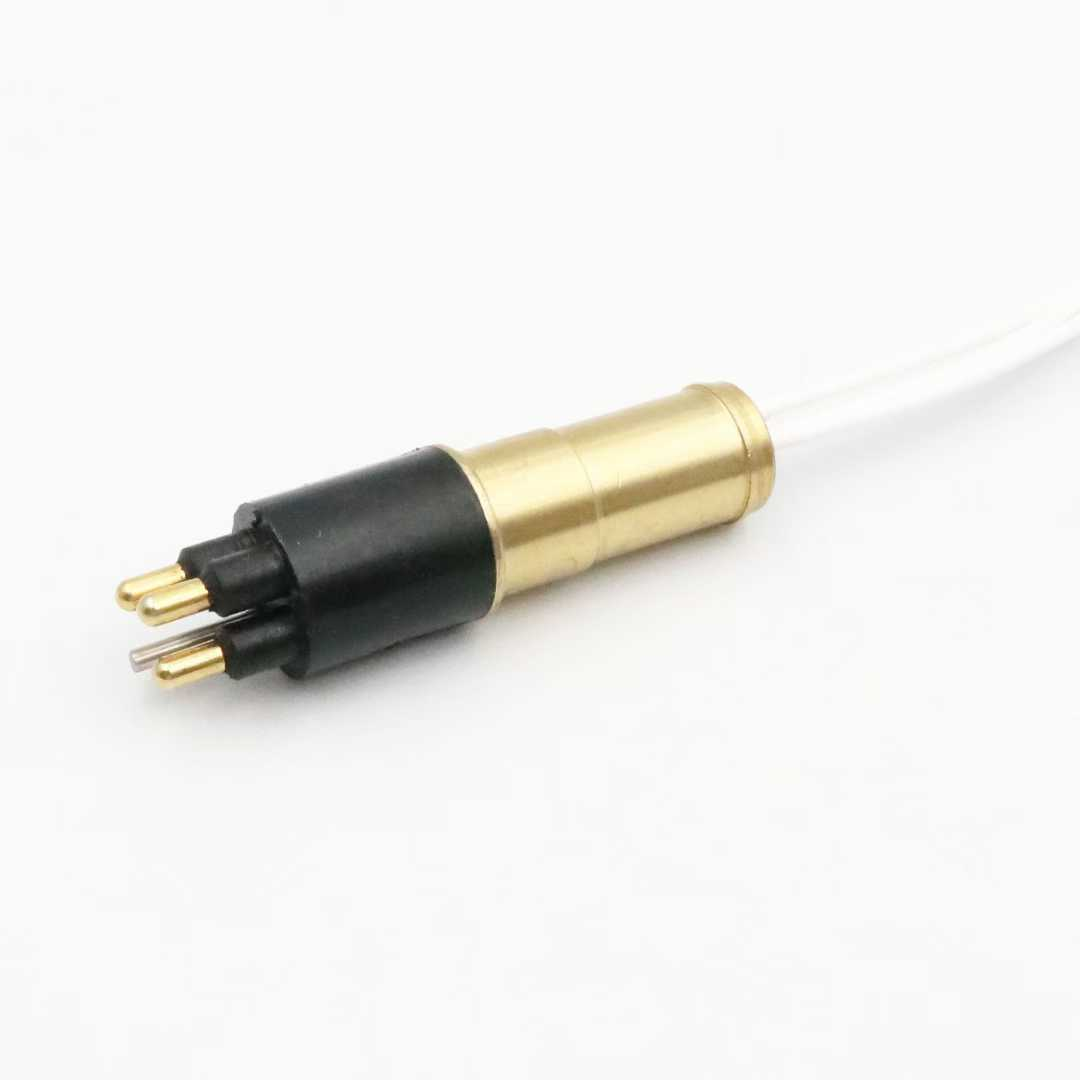
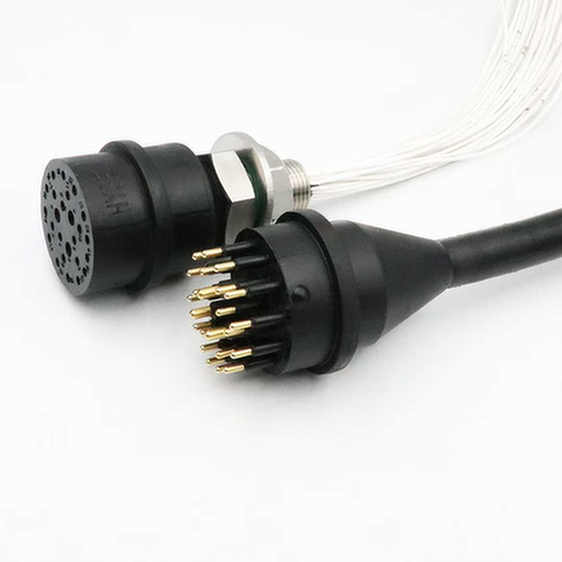
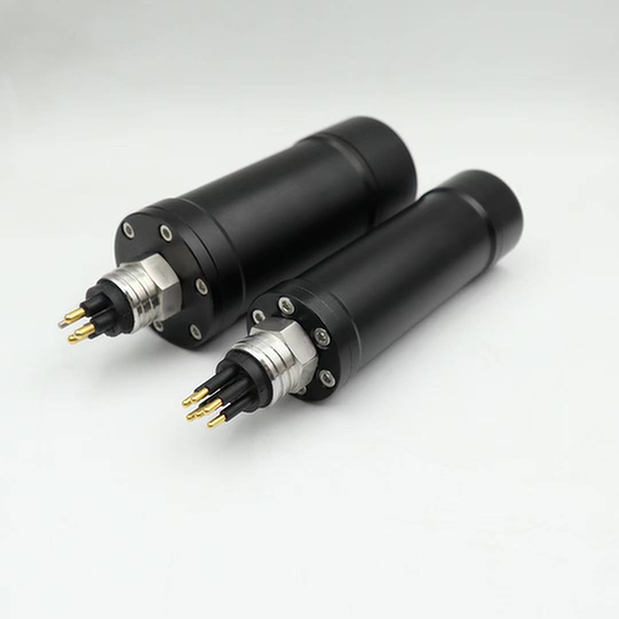
1.2 Connector Types
Expanded Beam Connectors:
- Use lenses to expand light beam before transmission
- More tolerant of contamination
- Higher insertion loss (0.5-1.0 dB typical)
- Best for harsh environments
Physical Contact (PC) Connectors:
- Fiber ends physically touch
- Lower insertion loss (0.2-0.5 dB)
- More sensitive to contamination
- Requires precise polishing
1.3 Fiber Types
| Fiber Type | Core Diameter | Wavelength | Anvendelse |
|---|---|---|---|
| Single-mode (SMF) | 8-10 μm | 1310/1550 nm | Long distance, high bandwidth |
| Multi-mode (MMF) | 50/62.5 μm | 850/1300 nm | Short distance, cost-sensitive |
Chapter 2: Pre-Installation Preparation
2.1 Required Tools and Equipment
| Tool Category | Specific Tools | Purpose |
|---|---|---|
| Stripping | Fiber strippers (various sizes) | Remove buffer coatings |
| Rengøring | Lint-free wipes, isopropyl alcohol | Remove contamination |
| Cleaving | Precision fiber cleaver | Create flat fiber ends |
| Polishing | Polishing films, puck, holder | Achieve optical finish |
| Testning | Power meter, light source, OTDR | Verify performance |
| Inspektion | Fiber microscope (200x-400x) | Inspect end faces |
2.2 Work Environment Requirements
Cleanliness: Fiber termination requires a clean environment. Even microscopic dust particles can cause significant signal loss.
Lighting: Bright, shadow-free lighting essential for seeing fiber ends clearly.
Workspace: Stable, vibration-free surface. Avoid air currents that can move fibers.
Temperature: 18-25°C (64-77°F) optimal. Extreme temperatures affect epoxy curing and fiber dimensions.
2.3 Safety Precautions
- Eye protection: Never look directly into fiber ends (invisible laser radiation)
- Fiber disposal: Collect fiber scraps in designated containers (sharp, can penetrate skin)
- Chemical safety: Use gloves with epoxy and cleaning solvents
- Ventilation: Work in well-ventilated area when using solvents
Chapter 3: Termination Procedures
3.1 Step-by-Step Termination Process
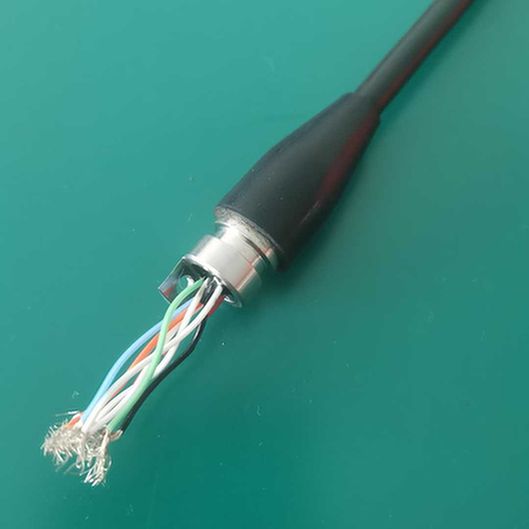
Step 1: Cable Preparation (15-20 minutes)
- Measure and mark: Measure required length, add 10% for slack
- Remove outer jacket: Use cable stripper, score jacket circumferentially
- Expose strength members: Aramid yarn or steel strands
- Trim strength members: Leave 10-15mm for strain relief
- Remove buffer tube: Carefully strip to expose individual fibers
Step 2: Fiber Stripping (5 minutes per fiber)
- Select correct stripper: Match to fiber coating diameter (250μm, 900μm, etc.)
- Strip coating: Apply gentle pressure, pull smoothly
- Clean fiber: Wipe with alcohol-soaked lint-free wipe
- Inspect: Check for nicks or damage under microscope
Step 3: Cleaving (2 minutes per fiber)
- Load fiber: Insert into cleaver, align with blade
- Cleave: Activate cleaver mechanism
- Inspect: Check cleave angle (<1° required)
- Dispose: Place fiber scrap in container
| Cleave Quality | Angle | Acceptable? | Action |
|---|---|---|---|
| Fremragende | <0.5° | Ja | Proceed |
| God | 0.5-1.0° | Ja | Proceed |
| Marginal | 1.0-2.0° | Conditional | Re-cleave if possible |
| Poor | >2.0° | Nej | Re-cleave required |
Step 4: Epoxy Application (for epoxy/polish connectors)
- Mix epoxy: Follow manufacturer’s ratio precisely
- Load syringe: Fill connector syringe with epoxy
- Inject: Inject into connector until epoxy appears at ferrule end
- Insert fiber: Gently insert cleaved fiber into connector
- Cure: Follow epoxy cure schedule (time/temperature)
Step 5: Polishing (10-15 minutes per connector)
- Initial polish: 12μm film, figure-8 pattern, 10-15 strokes
- Intermediate polish: 3μm film, figure-8 pattern, 10-15 strokes
- Final polish: 0.3μm film, figure-8 pattern, 10-15 strokes
- Inspect: Check end face under microscope
3.2 Polishing Patterns
Figure-8 Pattern: Most common, provides even material removal across fiber end face.
Circular Pattern: Alternative for certain connector types.
Key Points:
- Maintain consistent pressure throughout
- Replace polishing film regularly (every 10-20 connectors)
- Clean connector between polishing steps
- Never reuse polishing film
Chapter 4: Testing & Verification
4.1 Insertion Loss Testing
| Connection Type | Acceptable Loss | Target Loss | Maximum Loss |
|---|---|---|---|
| Single-mode PC | <0.3 dB | <0.2 dB | 0.5 dB |
| Multi-mode PC | <0.5 dB | <0.3 dB | 0.75 dB |
| Expanded Beam | <1.0 dB | <0.7 dB | 1.5 dB |
4.2 Return Loss Testing
Return loss measures reflected light. Higher values are better:
- Single-mode PC: >40 dB (minimum), >50 dB (target)
- Single-mode APC: >60 dB (minimum), >65 dB (target)
- Multi-mode: >35 dB (minimum), >40 dB (target)
4.3 OTDR Testing
Optical Time Domain Reflectometer (OTDR) provides:
- End-to-end loss measurement
- Location of faults or high-loss points
- Verification of splice/connector quality
- Documentation for acceptance testing
4.4 Visual Inspection
Always inspect connector end faces before mating:
| Defect Type | Appearance | Acceptable? | Action |
|---|---|---|---|
| Dust/Contamination | Dark spots | Nej | Clean and re-inspect |
| Scratches | Lines across core | No (if in core) | Re-polish or replace |
| Pits | Small craters | No (if >5μm) | Re-polish or replace |
| Cracks | Lines from edge | Never | Udskift stik |
Chapter 5: Field Installation Best Practices
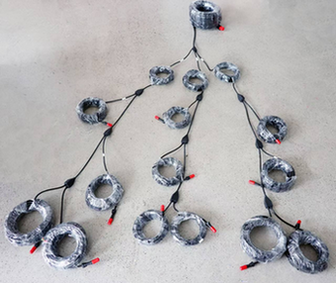
5.1 Cable Handling
- Minimum bend radius: 10x cable diameter (static), 20x (dynamic)
- Maximum tension: Follow manufacturer specifications (typically 600N for installation)
- Avoid twisting: Can cause fiber stress and increased loss
- Use proper pulling grips: Never pull on fibers directly
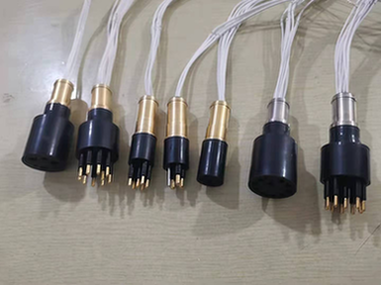
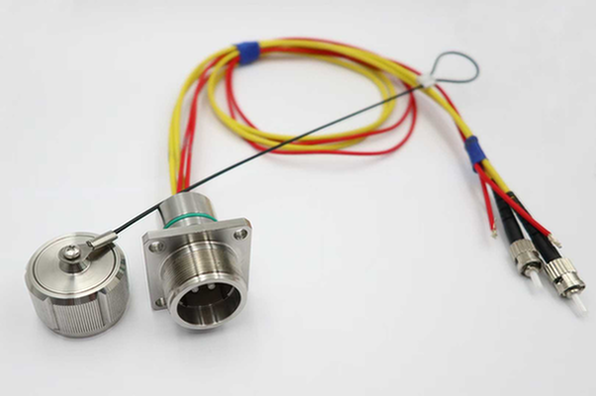
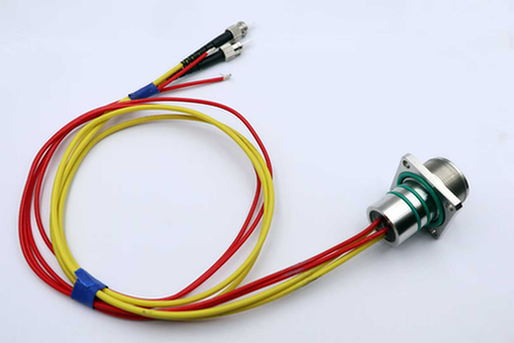
5.2 Connector Protection
- Always use caps: When not mated, protect with dust caps
- Clean before mating: Inspect and clean every time
- Avoid touching: Never touch end face with fingers
- Store properly: In clean, dry environment
5.3 Mating Procedures
- Inspect both connectors: Check for contamination or damage
- Clean if needed: Use appropriate cleaning method
- Align keyways: Match connector keys
- Push straight: Apply even pressure, don’t twist
- Lock mechanism: Engage locking sleeve or bayonet
- Verify connection: Gentle tug to confirm locked
5.4 Unmating Procedures
- Unlock mechanism: Disengage locking sleeve or bayonet
- Pull straight: Don’t twist or bend cable
- Cap immediately: Protect both connectors
- Inspect: Check for damage before storage
Chapter 6: Troubleshooting Common Issues
6.1 High Insertion Loss
| Mulig årsag | Diagnosis | Løsning |
|---|---|---|
| Forurening | Visible under microscope | Clean with proper technique |
| Poor cleave | Angle >1° | Re-cleave fiber |
| Poor polish | Scratches, pits visible | Re-polish connector |
| Fejljustering | Offset cores | Check connector alignment |
| Air gap | Connectors not fully mated | Remate, ensure full engagement |
6.2 Intermittent Connection
Symptomer: Signal drops in and out, especially with cable movement.
Årsager:
- Loose connector (not fully locked)
- Broken fiber (micro-crack)
- Poor strain relief
- Contamination causing intermittent contact
Solutions:
- Verify connector is fully locked
- Inspect fiber for breaks under microscope
- Check strain relief installation
- Clean and remate
6.3 Complete Signal Loss
Troubleshooting Steps:
- Verify light source: Confirm transmitter is working
- Check connections: Ensure all connectors are mated
- Test with power meter: Measure at various points
- Use OTDR: Locate break or high-loss point
- Inspect visually: Look for cable damage
Chapter 7: Maintenance & Long-Term Care
7.1 Cleaning Procedures
Dry Cleaning (Preferred):
- Use lint-free cleaning swab
- Insert into connector, rotate 360°
- Remove and inspect
- Repeat if necessary
Wet-to-Dry Cleaning:
- Apply isopropyl alcohol (99%) to lint-free wipe
- Wipe connector end face in one direction
- Use dry side to remove residue
- Inspect under microscope
7.2 Inspection Schedule
| Interval | Aktivitet | Purpose |
|---|---|---|
| Before each mate | Visuel inspektion | Detect contamination |
| Månedligt | Loss testing | Verify performance |
| Quarterly | Detaljeret inspektion | Check for wear/damage |
| Annually | Full certification | Complete testing per standards |
7.3 Storage Recommendations
- Environment: Clean, dry, temperature-controlled
- Protection: Always use dust caps
- Organization: Store in labeled containers
- Handling: Avoid dropping or impact
Konklusion
Proper fiber optic underwater connector installation and termination requires precision, patience, and adherence to established procedures. Key success factors include:
- Clean work environment and proper tools
- Careful fiber preparation (stripping, cleaving)
- Proper polishing technique
- Thorough testing at every stage
- Regular maintenance and inspection
Following these guidelines will ensure reliable, high-performance fiber optic connections in demanding underwater applications.
About HYSF Subsea: HYSF provides fiber optic underwater connectors with comprehensive installation support and training. Contact our engineering team for application-specific guidance.
Contact: info@hysfsubsea.com | +86 13942853869


