
Quick Answer
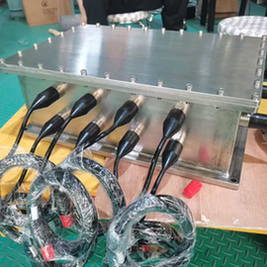
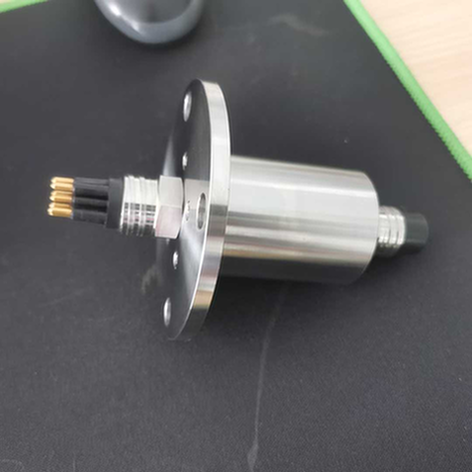
Leak diagnosis: 1) Check O-ring damage. 2) Verify proper mating. 3) Inspect for cracks. 4) Test electrical continuity. Quick fix: Replace O-ring, re-mate properly. If housing cracked or contacts corroded, replace connector. Always pressure-test after repair before deployment.
Leak Diagnosis Checklist
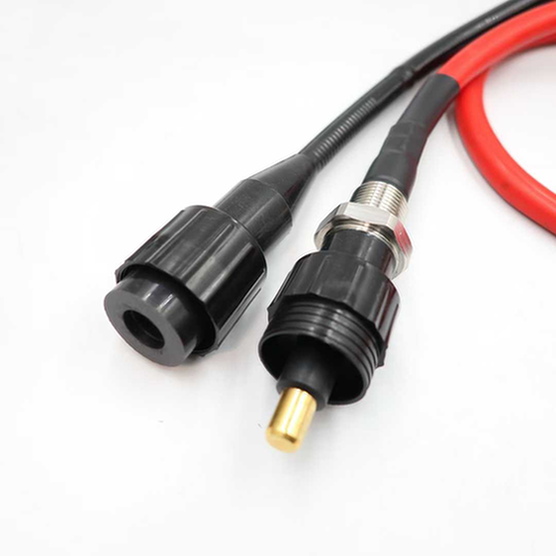
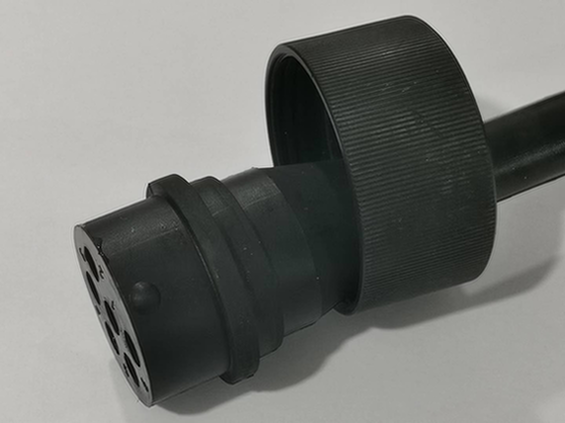
Step 1: Visual Inspection
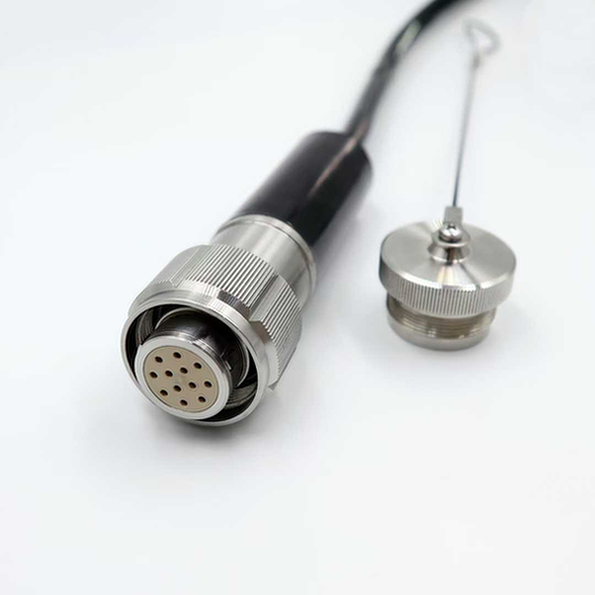
- □ Check O-ring for cuts, nicks, flattening
- □ Look for cracks in connector housing
- □ Inspect mating surfaces for debris
- □ Check for corrosion on contacts
- □ Verify locking mechanism is engaged
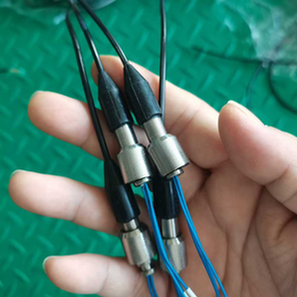
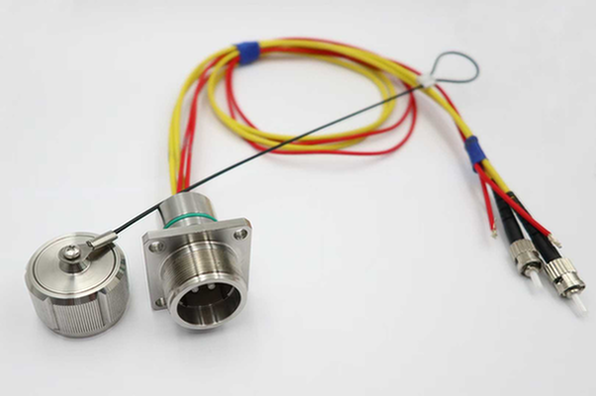
Step 2: Mating Verification
- □ Connector fully seated (no gap)
- □ Locking ring fully engaged
- □ Proper torque applied
- □ Keyway aligned correctly
Step 3: Electrical Testing
- □ Continuity test (all pins)
- □ Insulation resistance test
- □ Check for short circuits
- □ Compare to baseline readings
Common Leak Causes and Solutions
| Cause | Symptoms | Solution | Difficulty |
|---|---|---|---|
| Damaged O-ring | Slow leak, visible damage | Replace O-ring | Easy |
| Improper mating | Gap between halves | Re-mate properly | Easy |
| Debris on seal | Intermittent leak | Clean and re-mate | Easy |
| Cracked housing | Visible crack, major leak | Replace connector | Replace unit |
| Worn threads | Won’t tighten properly | Replace connector | Replace unit |
| Corroded contacts | Electrical failure + leak | Replace connector | Replace unit |
O-Ring Replacement Procedure
Tools Needed
- New O-ring (correct size and material)
- O-ring pick or small screwdriver
- Lint-free cloth
- Silicone grease (compatible with O-ring)
- Isopropyl alcohol
Steps
- Disconnect: Ensure connector is dry and disconnected
- Remove old O-ring: Use pick to gently lift O-ring from groove
- Clean groove: Wipe with alcohol-moistened cloth
- Inspect groove: Check for damage or debris
- Lubricate new O-ring: Apply thin layer of silicone grease
- Install new O-ring: Seat evenly in groove, no twists
- Verify: O-ring sits flush in groove
Emergency Field Repair
If Leak Detected During Operation
- Immediate action: Retrieve equipment if possible
- Disconnect power: Prevent electrical damage
- Rinse with fresh water: Remove salt and debris
- Dry thoroughly: Compressed air or lint-free cloth
- Inspect: Follow diagnosis checklist
- الاختبار: Electrical test before re-use
Temporary Field Fix (Not Recommended for Repeated Use)
- Apply marine-grade silicone sealant around joint
- Allow full cure time (24 hours)
- Test before deployment
- تحذير: This is temporary – replace connector ASAP
Pressure Testing After Repair
Simple Pressure Test
- Seal connector ends with test caps
- Submerge in water tank
- Apply air pressure (use bike pump with gauge)
- Look for bubbles indicating leaks
- Hold pressure for 5 minutes
Professional Pressure Test
- Use calibrated pressure chamber
- Test at 1.25x operating depth pressure
- Hold for 30 minutes
- Monitor pressure decay
- Document results
Preventing Future Leaks
- ✅ Inspect O-rings before each use
- ✅ Clean mating surfaces thoroughly
- ✅ Use proper torque specifications
- ✅ Replace O-rings regularly (every 100 cycles)
- ✅ Store connectors properly (dry, cool)
- ✅ Use protective caps when disconnected
When to Replace vs Repair
| Condition | Action | Cost Estimate |
|---|---|---|
| O-ring wear only | Replace O-ring | $5-20 |
| Minor corrosion | Clean and protect | $0 (labor only) |
| Cracked housing | Replace connector | $200-1,500 |
| Corroded contacts | Replace connector | $200-1,500 |
| Multiple issues | Replace connector | $200-1,500 |
Contact Us
Technical support: support@hysf-connect.com
Emergency hotline: Available for critical failures


