Aller au contenu

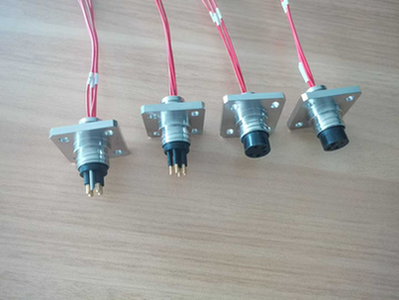
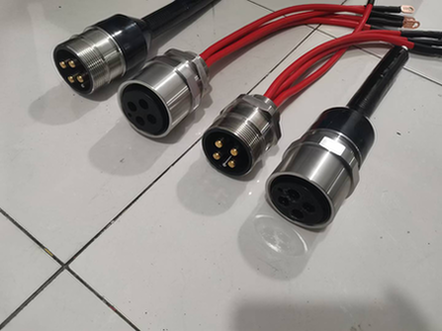
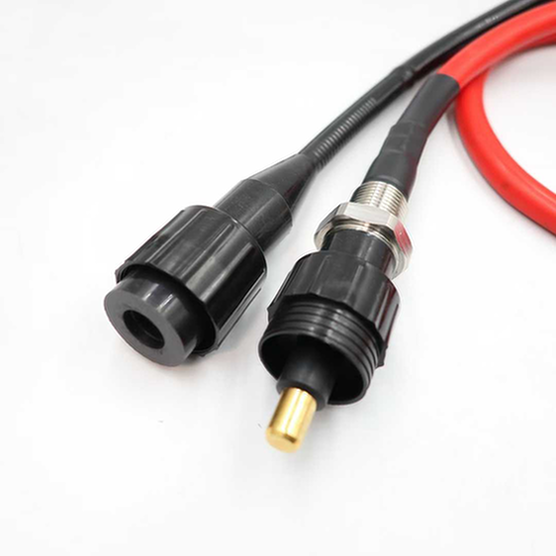
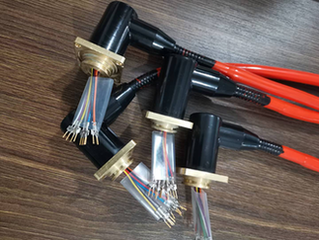
Réponse rapide : No, HYSF connectors are designed for easy installation. Basic steps: 1) Prepare cable (strip, tin), 2) Insert wires into contacts, 3) Pot/seal with epoxy, 4) Assemble connector housing. Most technicians can install in 15-30 minutes after first try. We provide detailed instructions, videos, and technical support. No special tools required for most models (basic wire tools suffice). For high-volume production, we offer pre-assembled cable connectors ready to use.
Connector Installation – Easy Guide
Installation Difficulty Level
Rating: ⭐⭐☆☆☆ (Easy to Moderate)
Temps nécessaire : 15-30 minutes per connector (first time)
Time after practice: 5-10 minutes per connector
Special tools: Basic wire tools (strippers, soldering iron)
Skill level: Basic electrical knowledge sufficient
What You’ll Need
Basic Tools
- ✅ Wire strippers
- ✅ Small screwdriver or pick tool
- ✅ Soldering iron (for tinning)
- ✅ Wire cutters
- ✅ Multimeter (for testing)
Materials
- ✅ Connector (obviously!)
- ✅ Epoxy or potting compound
- ✅ Isopropyl alcohol (for cleaning)
- ✅ Heat shrink tubing (optional)
- ✅ Electrical tape (optional)
Optional (Helpful)
- Magnifying lamp (for small connectors)
- Helping hands tool (holds connector while working)
- Heat gun (for heat shrink)
Step-by-Step Installation
Step 1: Prepare Cable (5 minutes)
- Cut cable to desired length (add extra for mistakes)
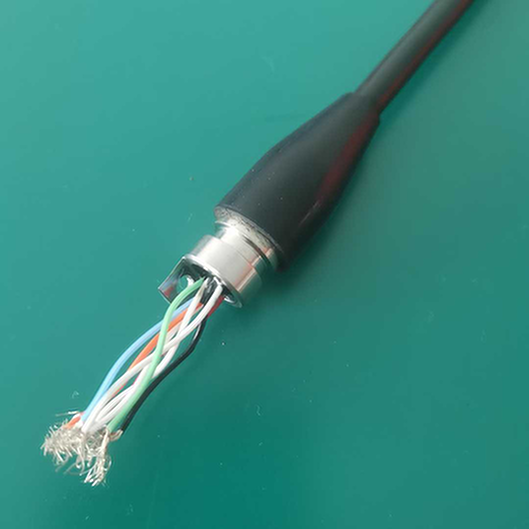
- Strip outer jacket to expose conductors (20-30mm)
- Strip individual conductors (5-7mm)
- Tin conductor ends with solder (prevents fraying)
Tip: Don’t strip too much – exposed wire should only be where it connects to contact.
Step 2: Insert Wires (5 minutes)
- Identify pinout diagram (included with connector)
- Insert each wire into correct contact position
- Ensure wire is fully seated
- Gently tug each wire to confirm secure
Tip: Work systematically (pin 1, then 2, then 3…) to avoid mistakes.
Step 3: Pot/Seal (5 minutes + cure time)
- Mix epoxy according to instructions
- Fill connector backshell with epoxy
- Ensure no air bubbles
- Let cure (typically 24 hours at room temp)
Tip: Use slow-cure epoxy for better penetration and fewer bubbles.
Step 4: Assemble Housing (5 minutes)
- Install O-ring (lubricate with silicone grease)
- Screw connector halves together
- Torque to specification (don’t overtighten!)
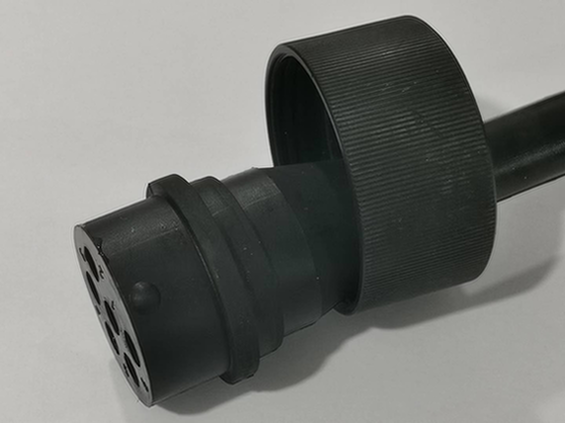
- Install protective caps
Tip: Hand-tight plus 1/4 turn is usually sufficient.
Step 5: Test (5 minutes)
- Visual inspection (check for obvious issues)
- Continuity test (multimeter, each pin)
- Insulation resistance test (if equipment available)
- Document results
Video Tutorials
We provide video tutorials for each connector series:
- 📹 MCBH Series Installation
- 📹 MCM Series Installation
- 📹 Cable Assembly Best Practices
- 📹 Troubleshooting Common Issues
Request access: [email protected]
Common Installation Mistakes
Mistake 1: Wrong Wire Strip Length
Problem: Too much exposed wire causes shorts; too little causes poor connection
Solution: Follow manufacturer’s recommended strip length (usually 5-7mm)
Mistake 2: Crossed Wires
Problem: Wires in wrong pin positions
Solution: Double-check pinout diagram before inserting; test before potting
Mistake 3: Insufficient Potting
Problem: Water ingress through back of connector
Solution: Fill completely with epoxy; ensure no voids or bubbles
Mistake 4: Overtightening
Problem: Damaged threads or crushed O-ring
Solution: Hand-tight plus 1/4 turn; use torque wrench if specified
Mistake 5: Dirty/Damaged O-ring
Problem: Leaks at mating interface
Solution: Inspect O-ring before assembly; replace if damaged; lubricate
Installation Support
Documentation Provided
- ✅ Detailed installation instructions (PDF)
- ✅ Pinout diagrams
- ✅ Torque specifications
- ✅ Troubleshooting guide
Technical Support
- 📧 Email: [email protected]
- 💬 Live chat on website
- 📞 Phone: +86 13942853869
- 📹 Video call support available (by appointment)
Training Options
- Self-paced: Video tutorials and documentation
- Live training: Video call with our engineer (free for customers)
- On-site: For large volume customers (fee applies)
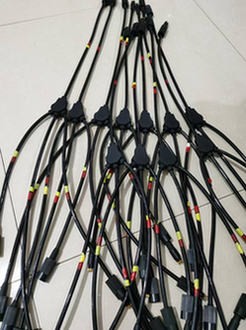
Pre-Assembled Option
Don’t want to install yourself?
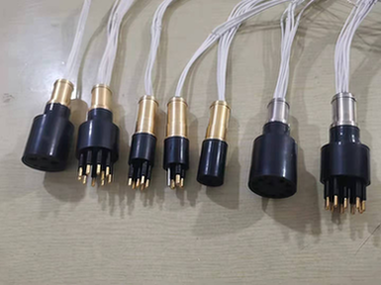
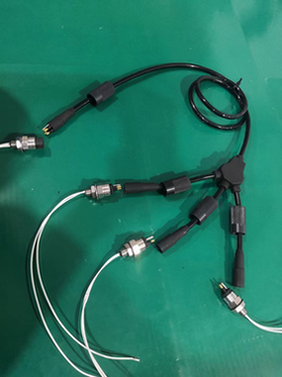
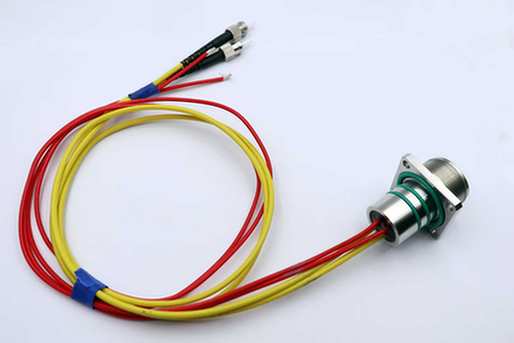
We offer complete cable assemblies:
- Connector professionally installed
- 100% tested (pressure and electrical)
- Ready to use out of the box
- Custom lengths available
- Only 20-30% more than connector alone
Often worth it for:
- Small quantities (<10 units)
- Critical applications
- No in-house assembly capability
- Time-sensitive projects
Practice Makes Perfect
First-time installation tips:
- Order 1-2 extra connectors for practice
- Watch video tutorial before starting
- Work in clean, well-lit area
- Take your time (rushing causes mistakes)
- Test thoroughly before deployment
Related: Guide d'installation | Pre-made Assemblies
Need installation help? Email [email protected] or request video call support.