
Quick Answer
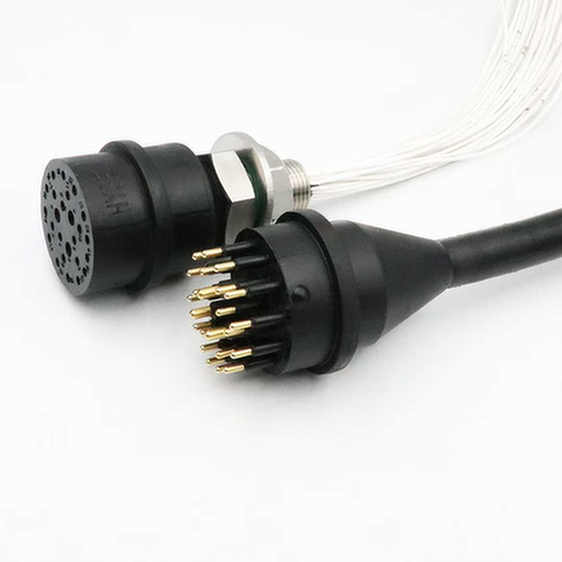
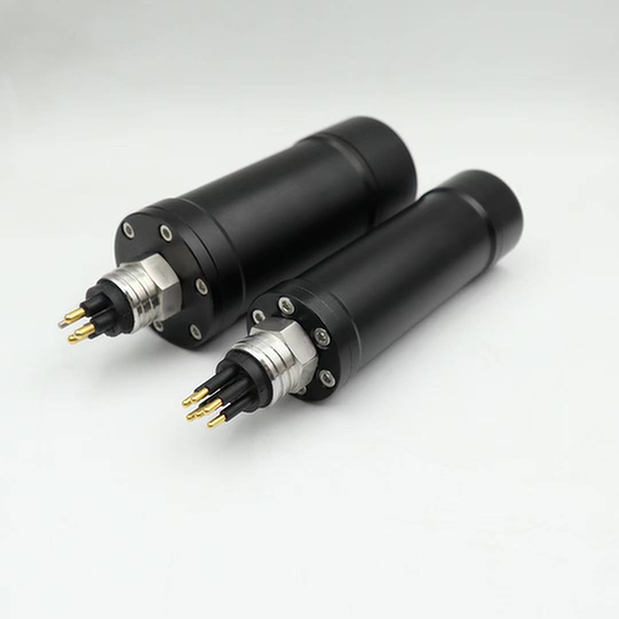
Proper mating indicators: 1) No visible gap between connector halves. 2) Locking mechanism fully engaged (click or visual mark). 3) Alignment marks lined up. 4) Proper torque achieved. 5) Tug test confirms secure connection. Always verify before deployment – improper mating is #1 cause of leaks.
Visual Mating Indicators
Gap Check
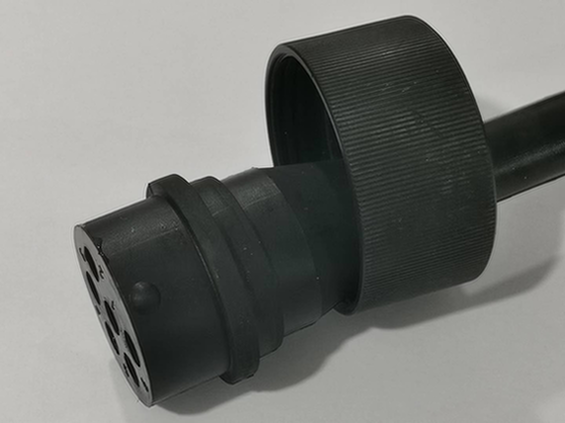
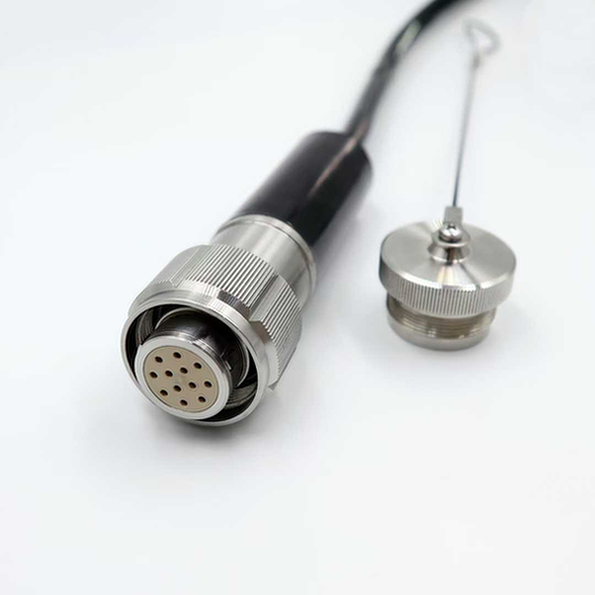
- ✅ Proper: No visible gap between connector halves
- ❌ Improper: Any visible gap (even 1mm indicates incomplete mating)
- Method: Visual inspection from multiple angles
Alignment Marks
- ✅ Proper: Alignment dots/lines match perfectly
- ❌ Improper: Marks misaligned
- Method: Look for manufacturer’s alignment indicators
Locking Mechanism
- ✅ Proper: Locking ring/sleeve fully rotated to locked position
- ✅ Audio cue: Audible “click” when locked (on some models)
- ❌ Improper: Locking mechanism not fully engaged
- Method: Visual + tactile confirmation
Tactile Verification
Torque Check
- Use torque wrench for critical applications
- Hand-tight plus 1/8 to 1/4 turn for standard connectors
- Should feel firm, not loose or over-tightened
- Refer to torque specs for your connector model
Tug Test
- Grip both connector halves firmly
- Apply gentle pulling force (5-10 lbs)
- Connector should not separate or loosen
- No movement between halves
- Warning: Don’t pull on cables – grip connector bodies only
Rotation Test
- Try to rotate one half relative to the other
- Properly mated connectors should not rotate
- Any rotation indicates incomplete locking
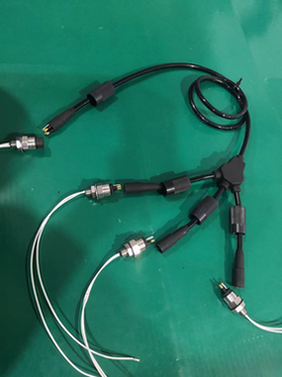
Mating Procedure
Step-by-Step Guide
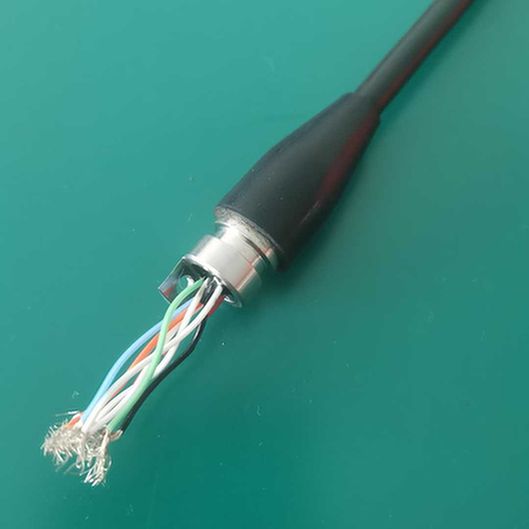
- Inspect: Check both halves for damage, debris, O-ring condition
- Clean: Wipe mating surfaces with lint-free cloth
- Align: Match keyways and alignment marks
- Insert: Push halves together firmly and evenly
- Engage: Rotate locking mechanism until fully seated
- Verify: Check all visual and tactile indicators
- Test: Perform tug test
- Document: Log mating if required for your application
Common Mating Mistakes
| Mistake | Symptom | Consequence | Prevention |
|---|---|---|---|
| Cross-threading | Hard to turn, uneven gap | Thread damage, leak | Align before turning |
| Debris on seal | Won’t seat fully | Leak path | Clean before mating |
| Damaged O-ring | Gap despite tight locking | Leak | Inspect O-rings |
| Incomplete locking | Lock not fully engaged | Separation under load | Verify lock position |
| Over-tightening | Excessive force required | Thread/O-ring damage | Use torque wrench |
Special Mating Scenarios
Underwater Mating (Wet-Mate Connectors)
- Follow ROV/diver mating procedure
- Visual confirmation via camera or diver inspection
- Tactile feedback through ROV manipulator
- Post-mate electrical verification
Gloved Operation
- Reduced tactile sensitivity
- Rely more on visual indicators
- Use larger grip surfaces
- Consider connector designs for gloved use
Low Visibility Conditions
- Use tactile indicators (detents, clicks)
- Install position sensors if critical
- Lighting for visual inspection
- Camera assistance for underwater
Post-Mating Verification
Electrical Tests
- Continuity test: Verify all pins connected
- Insulation resistance: Check for shorts
- Hi-pot test: Verify dielectric strength (if applicable)
Leak Testing
- Visual inspection for gaps
- Pressure test before critical deployment
- Monitor for water ingress indicators (if equipped)
Mating Cycle Documentation
For critical applications, maintain a mating log:
| Date | Connector ID | Mated With | Operator | Verification | Notes |
|---|---|---|---|---|---|
| 2026-03-09 | HYSF-001 | HYSF-002 | J. Smith | Visual + Tug | Good condition |
When to Re-Mate
- Before every deployment (best practice)
- If connector was disconnected
- If visual inspection shows issues
- After extended storage
- If electrical test fails
- After any impact or rough handling
Contact Us
Mating questions: support@hysf-connect.com


