
Quick Answer
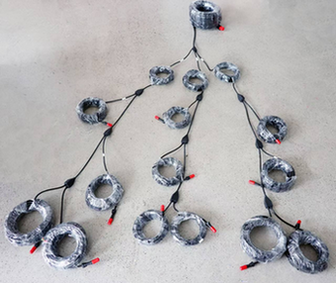
After installation: 1) Visual inspection, 2) Continuity test, 3) Insulation resistance (>100 MΩ), 4) Hi-pot test, 5) Water test (optional). Document results. Never deploy untested.
Detailed Explanation
Testing Checklist
| Test | Purpose | Pass Criteria |
| —— | ——– | ————— | |
|---|---|---|---|
| Visual | Verify assembly | No damage, proper seating | |
| Continuity | Electrical connection | <1 Ω per contact | |
| Insulation | Verify isolation | >100 MΩ | |
| Hi-Pot | Dielectric strength | No breakdown | |
| Water | Verify sealing | No ingress |
### Step-by-Step
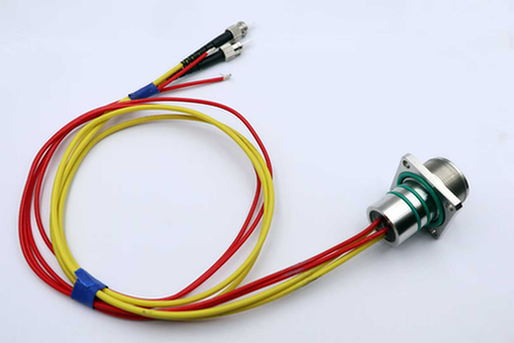
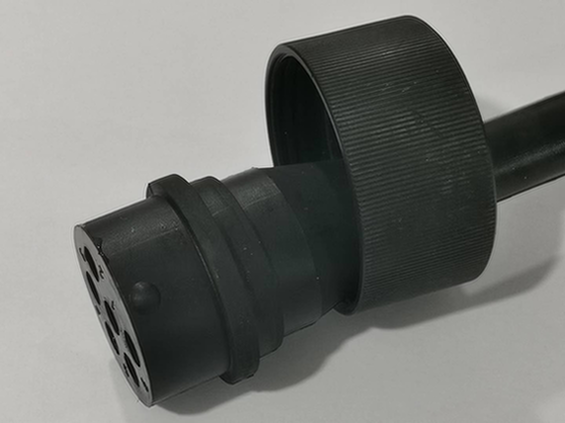
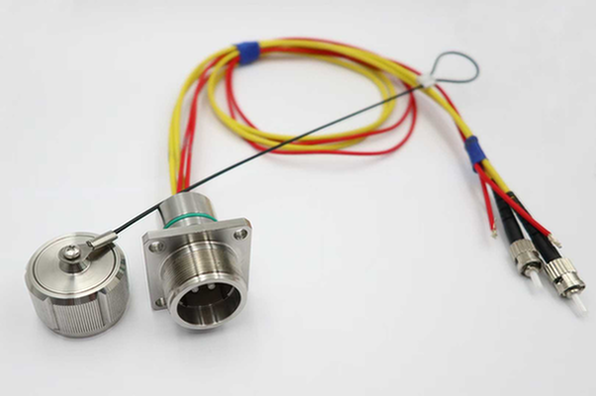
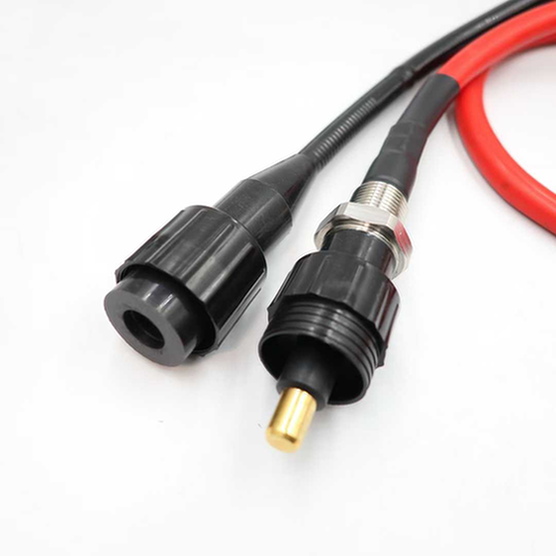
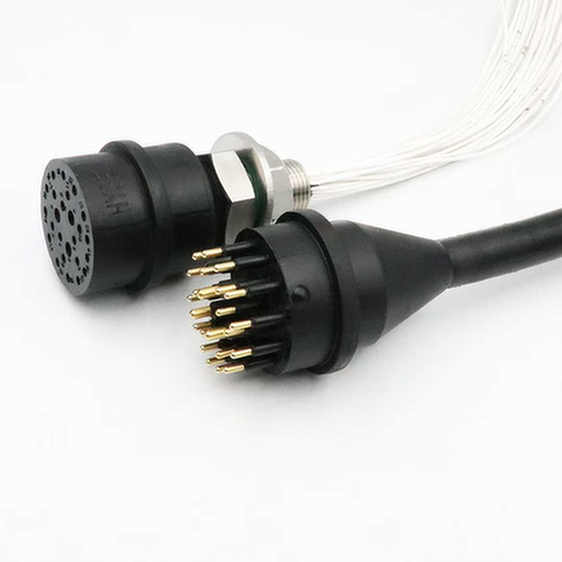
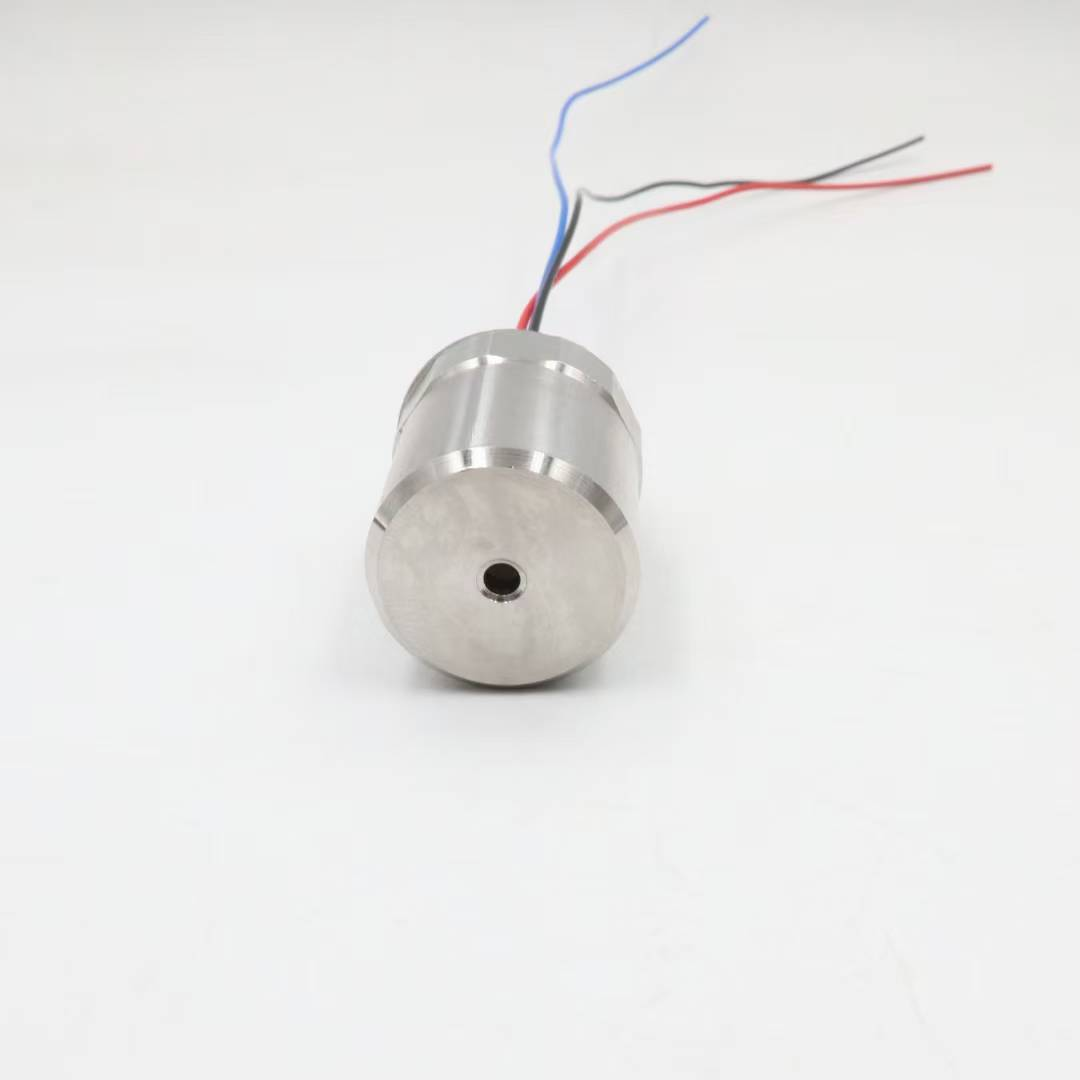
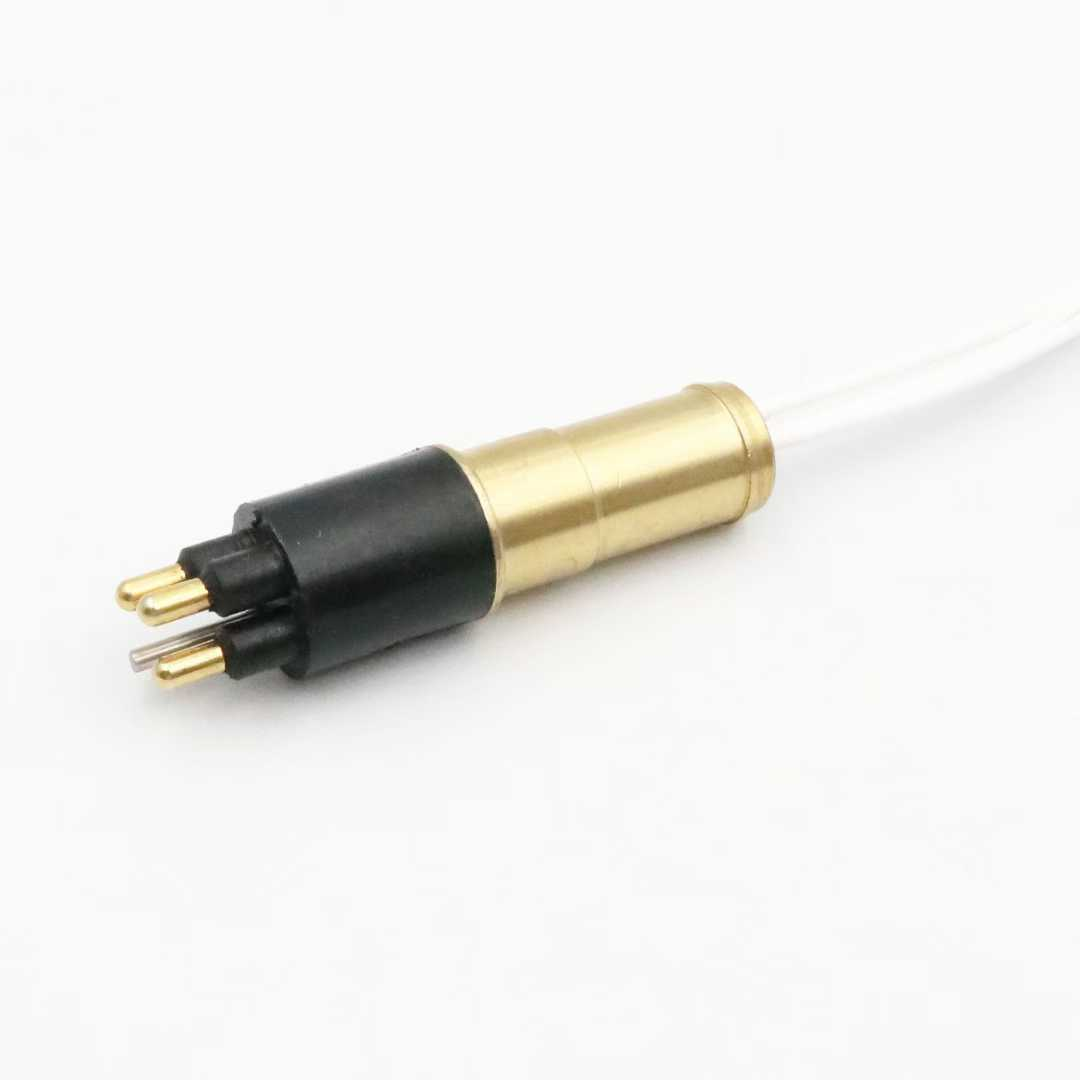
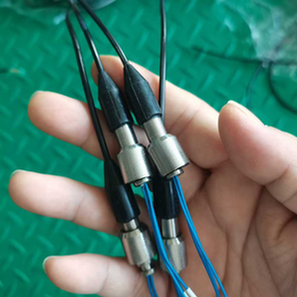
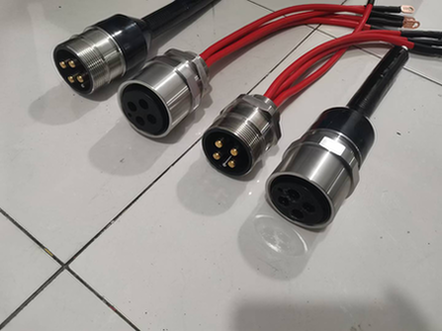
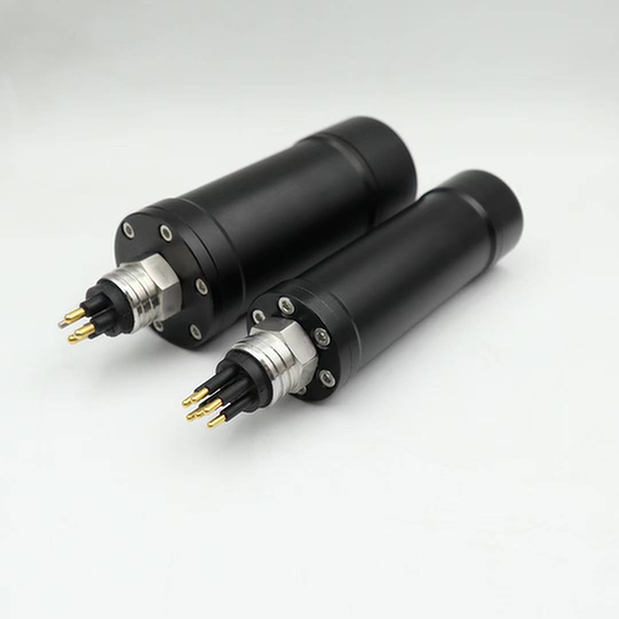
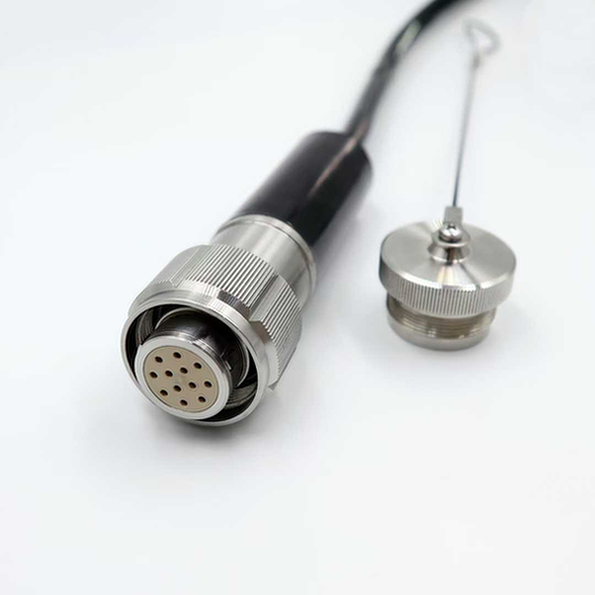
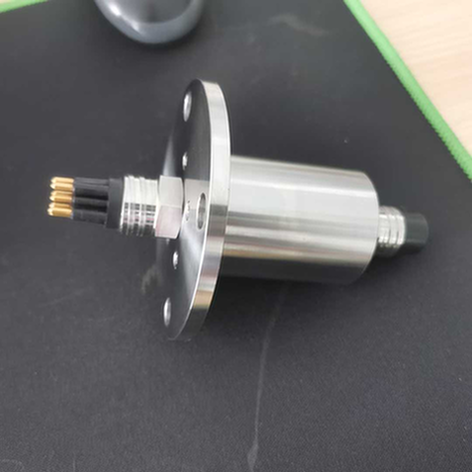
**Step 1: Visual Inspection**
– Connector fully mated
– Coupling tightened
– No visible damage
– O-rings seated
– Cable strain relief secure
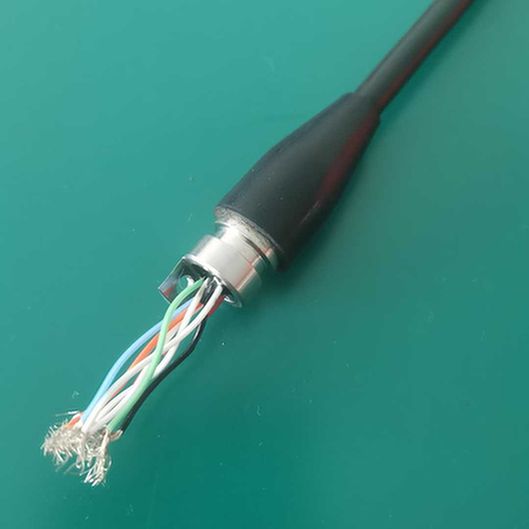
**Step 2: Continuity Test**
– Pin-to-pin: <1 Ω
- Pin-to-housing: Open circuit
- Cable continuity: <1 Ω per conductor**Step 3: Insulation Resistance**
- Pin-to-pin: >100 MΩ at 500V DC
– Pin-to-housing: >100 MΩ
– Pin-to-shield: >100 MΩ
### Test Frequency
| Situation | Testing |
| ———– | ——– | |
|---|---|---|
| New installation | Full suite | |
| After maintenance | Continuity + Insulation | |
| Before critical dive | Visual + Continuity | |
| After water ingress | Full suite |
## Contact/CTA
Email: support@hysfsubsea.com for test equipment recommendations. Testing essential!


