
Quick Answer
Proper installation ensures waterproof integrity. Key steps: clean mating surfaces, apply lubricant, hand-tighten then use spanner wrench for final torque.
Pre-Installation Checklist
1. Inspect Components
- Check for physical damage
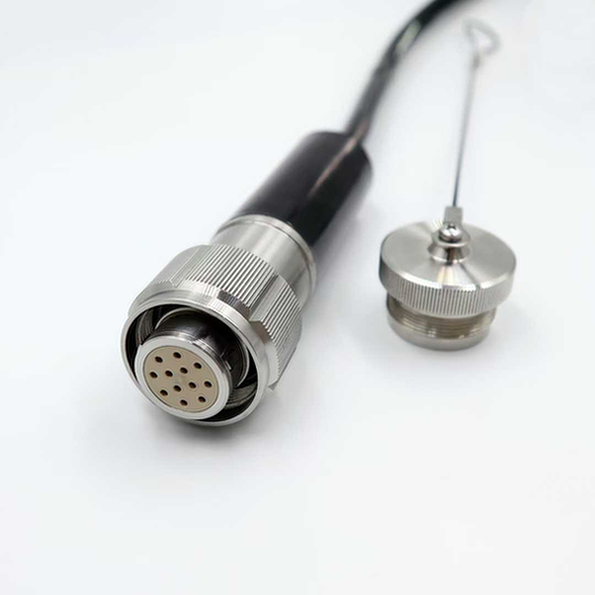
- Verify O-rings are present and undamaged
- Ensure threads are clean and undamaged
- Confirm pin/socket alignment
2. Clean Mating Surfaces
- Use isopropyl alcohol or fresh water
- Remove all dirt, sand, and debris
- Dry thoroughly before mating
- Never use compressed air (can force particles into seals)
3. Apply Lubricant
- Use silicone-based lubricant (provided with connector)
- Apply thin film to O-rings only
- Do NOT lubricate electrical contacts
- Do NOT use petroleum-based lubricants
Mating Procedure
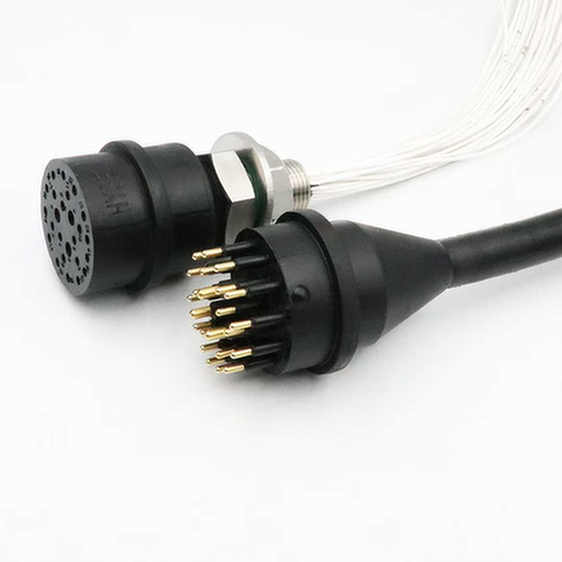
Step 1: Align Connectors
Match keyway/guide pins before engaging threads. Never force misaligned connectors.
Step 2: Hand Tighten
Thread coupling ring by hand until snug. Ensure threads engage smoothly without cross-threading.
Step 3: Final Torque
Use spanner wrench to tighten to specified torque:
- Mini series (18-22mm): 2-3 Nm
- Standard series (25-40mm): 5-8 Nm
- Large series (50mm+): 10-15 Nm
Step 4: Verify Connection
- Check that coupling ring is fully seated
- Verify no gap between connector halves
- Test electrical continuity if possible
Demating Procedure
Step 1: Clean Exterior
Rinse with fresh water to remove salt and debris before disconnecting.
Step 2: Loosen Coupling Ring
Use spanner wrench to break torque, then unscrew by hand.
Step 3: Separate Connectors
Pull straight apart – do not twist or bend cables.
Step 4: Inspect and Protect
- Inspect O-rings for damage
- Clean and re-lubricate O-rings
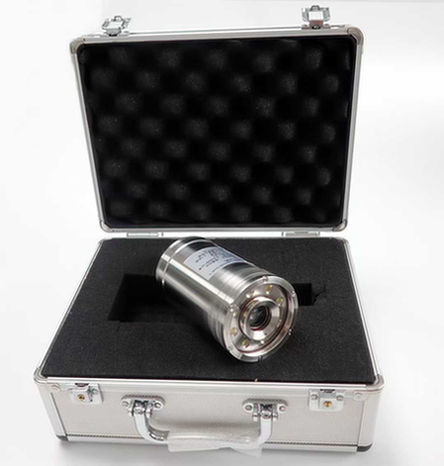
- Install protective caps immediately
Common Installation Mistakes
Cross-Threading
Problem: Threads engage at angle
Solution: Back out and realign, never force
O-Ring Pinching
Problem: O-ring caught between surfaces
Solution: Ensure O-ring sits properly in groove before mating
Over-Tightening
Problem: Excessive torque damages threads
Solution: Use torque wrench, follow specifications
Contaminated Contacts
Problem: Dirt or lubricant on electrical contacts
Solution: Clean with contact cleaner, dry thoroughly
Installation Tools Required
- Spanner wrench (correct size for your connector)
- Torque wrench (for critical applications)
- Silicone lubricant
- Isopropyl alcohol
- Lint-free cleaning cloths
- Protective caps
Related Questions
- How often should O-rings be replaced?
- What lubricant is safe for underwater connectors?
- How to troubleshoot intermittent connections?


