HYSF Connector Installation Guide
Proper installation ensures reliable performance. Follow these steps for successful connector termination.
Tools Required
- Soldering iron (temperature controlled)
- Wire strippers
- Heat gun or shrink tool
- Torque wrench (for housing)
- Multimeter (for testing)
- Isopropyl alcohol (for cleaning)
- Lint-free wipes
- Connector assembly tool (included)
Step-by-Step Installation
Step 1: Cable Preparation (5 minutes)
- Cut cable to desired length
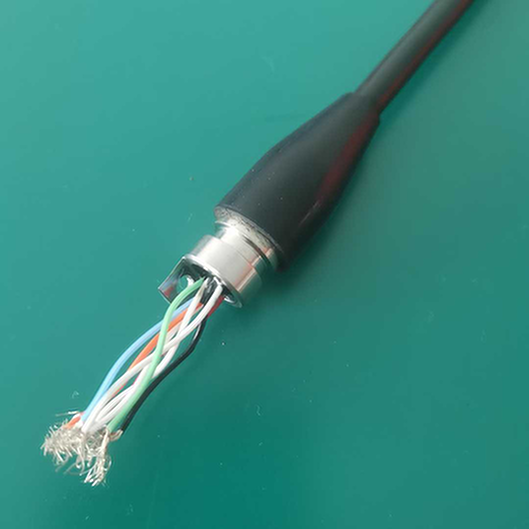
- Strip outer jacket (15-20mm)
- Separate and strip individual conductors (5-7mm)
- Twist stranded conductors lightly
- Sleeve conductors with heat shrink (optional)
Step 2: Contact Termination (10 minutes)
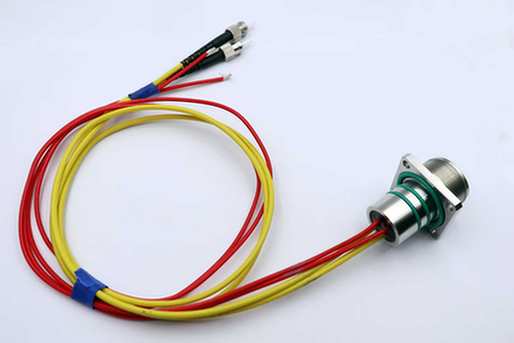
- Slide contact into solder cup
- Apply flux to wire and contact
- Solder wire to contact (2-3 seconds)
- Let cool naturally (don’t blow on it)
- Inspect solder joint (should be smooth, shiny)
- Slide heat shrink over joint (if using)
Solder Tips:
- Use 60/40 or 63/37 solder
- Iron temperature: 350-380°C
- Avoid cold joints (dull, grainy appearance)
- Don’t overheat (can damage insulation)
Step 3: Contact Insertion (5 minutes)
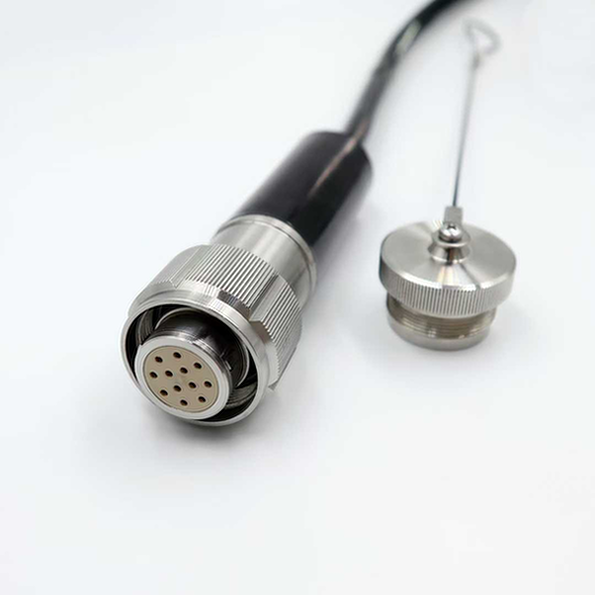
- Verify contact position (refer to pinout diagram)
- Insert contacts into insulator from rear
- Push until you hear/feel click (retention engaged)
- Gently tug each wire to confirm retention
- Double-check pinout against diagram
Step 4: Housing Assembly (5 minutes)
- Clean all sealing surfaces with alcohol
- Inspect O-rings (no nicks, debris)
- Lubricate O-rings lightly with silicone grease
- Install O-rings in grooves
- Align housing halves (match keying)
- Thread housing by hand (don’t cross-thread)
- Torque to specification (see table below)
Step 5: Testing (5 minutes)
- Continuity test (each pin to corresponding wire)
- Insulation resistance test (pin to pin, pin to housing)
- Visual inspection (no gaps, proper seating)
- Record test results
Torque Specifications
| Connector Size | Torque (Nm) | Torque (in-lbs) |
|---|---|---|
| Mini (M12 style) | 3-4 Nm | 27-35 in-lbs |
| Standard (4-8 pin) | 8-10 Nm | 70-88 in-lbs |
| Large (12-24 pin) | 15-20 Nm | 133-177 in-lbs |
| Extra Large | 25-30 Nm | 221-265 in-lbs |
Important: Don’t overtighten – can damage O-rings and threads
Common Installation Mistakes
| Mistake | Symptom | Prevention |
|---|---|---|
| Cold solder joint | Intermittent connection | Proper heat, good solder flow |
| Wrong pinout | System doesn’t work | Double-check before assembly |
| Damaged O-ring | Leak at depth | Inspect, lubricate, careful handling |
| Cross-threaded housing | Won’t tighten properly | Start by hand, feel for alignment |
| Insufficient torque | May loosen underwater | Use torque wrench |
| Excessive torque | Damaged threads/O-rings | Follow specifications |
Installation Videos
We provide video tutorials for visual learners:
- Basic termination (10 min)
- Advanced techniques (15 min)
- Troubleshooting guide (8 min)
Access: Available on our website and YouTube channel
Installation Training
For teams new to underwater connectors:
- Online training: Free video course
- Live webinar: Monthly Q&A sessions
- On-site training: Available for large customers
Quality Checkpoints
Verify at each stage:
| Stage | Check | Accept/Reject Criteria |
|---|---|---|
| After stripping | Conductor damage | No nicks or breaks |
| After soldering | Joint quality | Smooth, shiny, no voids |
| After insertion | Contact retention | firm tug test pass |
| After assembly | Housing gap | No visible gaps |
| Final test | Continuity | All pins correct |
| Final test | Insulation | >100 MΩ |
Time Estimates
| Experience Level | First Connector | After Practice |
|---|---|---|
| Beginner | 45-60 minutes | 20-30 minutes |
| Intermediate | 25-35 minutes | 15-20 minutes |
| Expert | 15-20 minutes | 10-15 minutes |
Pre-Terminated Option
Don’t want to terminate yourself?
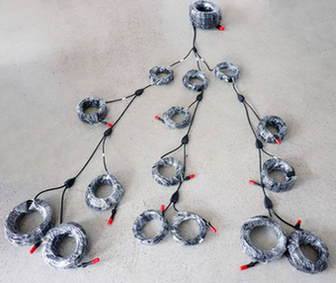
- Order pre-terminated cable assemblies
- Factory quality guaranteed
- Ready to use immediately
- Only slightly higher cost
Recommendation: For critical applications or first-time users, pre-terminated assemblies reduce risk.
Need Help?
Installation support available:
- ? Email: [email protected]
- ? Phone: Available during business hours
- ? Live chat: Website
- ? Video call: Screen share for real-time help
Questions about installation? Contact our support team – we’re here to help.